Why "Near Me" Matters More With Micro Realism Than Most Styles
Most tattoo styles are forgiving at distance. You fly somewhere, get the work done, and a single session wraps things up cleanly. Micro realism doesn't work like that. The style is unforgiving at small scale. Imprecision that larger work absorbs becomes visible immediately when the canvas is 5 cm wide.
Multi-session pieces and follow-up checks are standard. A touch-up at 8 to 12 weeks after healing isn't optional. It's built into the process. If your artist is in another city, that follow-up becomes a logistical problem. Lisbon clients can come back in person without a flight, and that continuity genuinely shapes the final result.
That's why proximity matters here more than it does with, say, a bold geometric piece or a lettering tattoo. Finding a skilled micro realism tattoo artist near me in Lisbon means you can maintain the relationship the work actually requires.
What Micro Realism Actually Is (And What Makes It Hard)
The difference between micro realism and miniature realism
People sometimes use these terms interchangeably. They shouldn't. Miniature realism scales an existing realistic design down. Micro realism redesigns the subject specifically for a compressed canvas, usually 4 to 8 cm, accounting for how ink behaves at that size from the first pencil stroke.
The goal is a full photographic rendering: shadow, midtone, highlight, texture. All of it, packed into a space smaller than a matchbox. That's very different from minimalism, which achieves its effect by removing detail. Micro realism keeps every tonal layer. It just compresses them.
You can read more about what sets this style apart on the studio's micro realism tattoo service page, including the subjects that translate best at small scale.
Why needle selection and ink layering define the result
Single-needle (1RL) and tight 3-round-liner (3RL) groupings do the heavy lifting here. A 1RL needle deposits ink in an extremely fine point, which lets the artist sketch gradients without muddying adjacent tones. The 3RL sits just slightly wider and builds midtone layers faster without sacrificing edge control.
Ink layering follows a logic: darks first, then midtones, then highlights last. Reverse the order and you're pushing pigment into areas that should stay light. The margin for error is essentially zero at this scale.
"If the tonal range isn't fully committed on a small piece. Real blacks in the shadows, real whites in the highlights. The whole thing collapses into grey mush within a year."
One more myth worth addressing: small tattoos are easier and cheaper to produce. For why small work demands the most precision, read the studio's dedicated guide. The short version is that a 5 cm realistic portrait is technically harder than a 15 cm one, because there is no room to hide anything.
What to Look For in a Micro Realism Artist's Portfolio
Healed work versus fresh work
Fresh tattoos look sharp. The ink sits close to the surface, contrast is high, and everything pops. That's not the final result. The real result appears 6 to 8 weeks later, once the skin has fully healed and the ink settles into the dermis.
When you evaluate a portfolio, ask specifically for healed photos. A studio confident in its work will have them. If every image in the portfolio looks like it was shot an hour after the needle lifted, that's worth noting.
Line integrity and tonal depth at small scale
Check whether fine lines remain crisp in healed pieces. Lines that spread. Blurring into the surrounding skin. Indicate either technique problems or placement on skin that moves too much. Both matter.
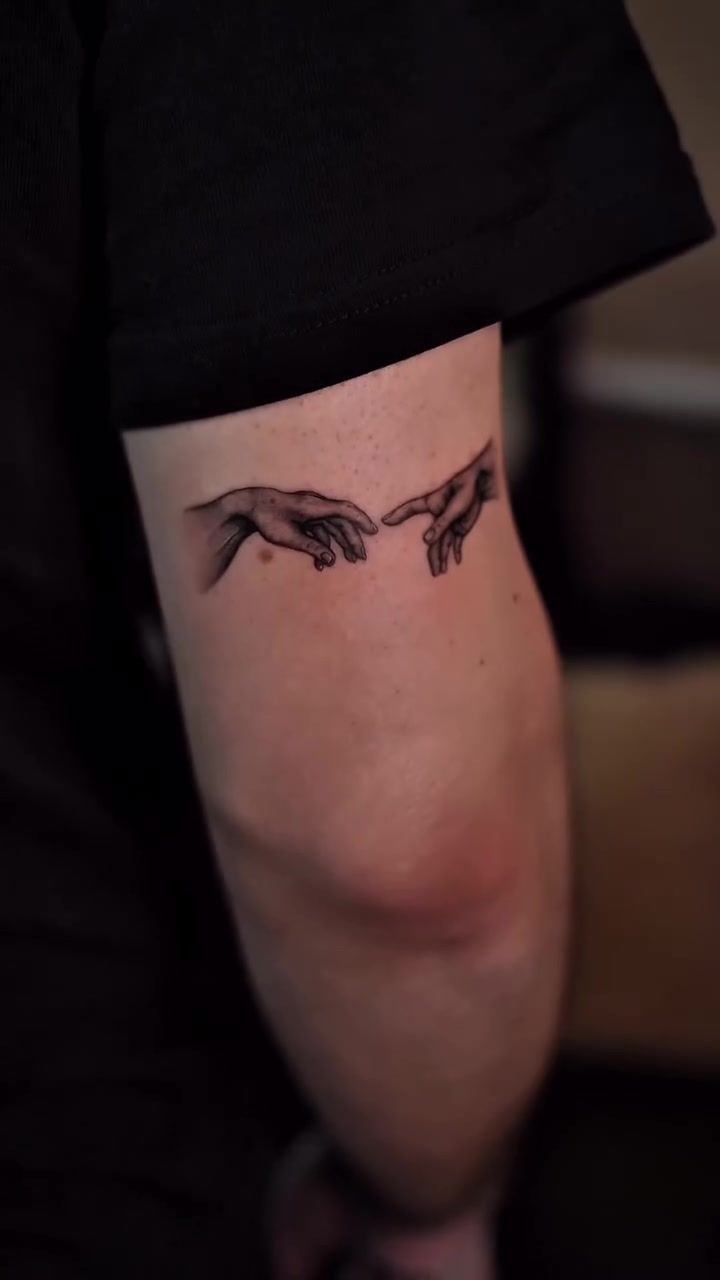
Look for tonal depth: does the shadow actually read as dark? Does the highlight pop? A piece that lands in the middle grey zone without genuine contrast will continue to flatten over time. Portfolio consistency across different subjects, forearm portraits, botanical details, animal pieces, signals real range.
How the Studio Approaches Micro Realism
The consultation and reference phase
Not every subject compresses well. A full-face portrait with complex background elements at 5 cm will lose legibility over time. The consultation focuses on honest sizing: what detail can realistically be preserved at the scale you're proposing, and what needs to be simplified or removed.
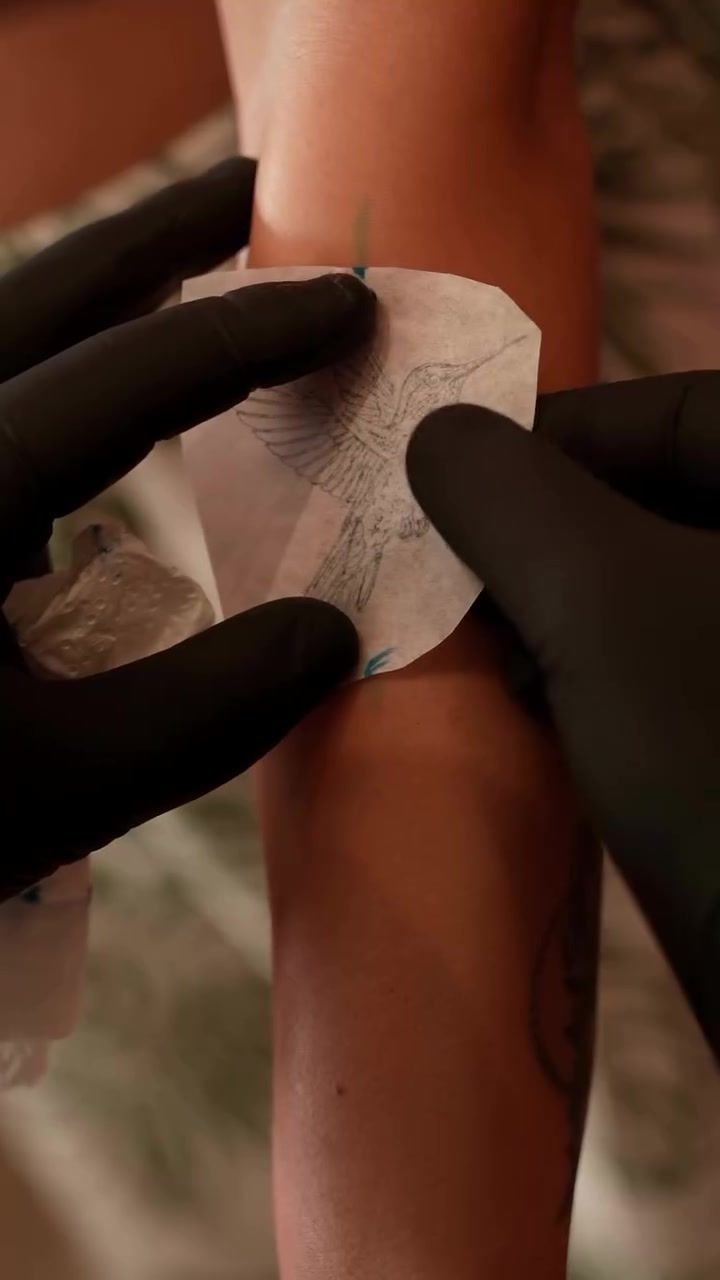
The artist sketches at actual size before anything goes near a stencil. That step matters. Seeing the design at its real dimensions. On paper, against the proposed placement. Reveals problems that a screen preview hides. Subjects that look fine at phone-screen scale often reveal crowding issues when drawn to size.
Skin prep, stencil placement, and session structure
Stencil placement is precise work. If a stencil sits 2 mm off-centre on a small portrait, you'll see the asymmetry every time you look at it. The artist takes time here, repositioning until the geometry of the design aligns with the natural contours of the body part.
Session lengths for small photorealistic work in Portugal typically run 1.5 to 3 hours depending on detail density. That's shorter than a large realism piece, but the precision required per square centimetre is significantly higher. You don't drift or rush through a 5 cm face.
Lisbon's humid summer climate affects healing. Between June and September, sweat and humidity slow the skin's surface closure. The studio tailors its aftercare guidance by season; summer clients get specific advice about sun avoidance, keeping the piece away from salt water at the beaches west of the city, and adjusting their covering routine. For a full breakdown of what the style actually demands in Lisbon, including seasonal aftercare, that article covers the process in depth.
Placement, Sizing, and Realistic Expectations
Placement decisions affect longevity more than almost any other variable. High-flex joints. The inner elbow, the back of the knee, the wrist's pulse point. Put constant mechanical stress on healed ink. Fine detail migrates faster on mobile skin. Palms are particularly problematic; the epidermis there regenerates quickly and pushes ink out.
Stable, low-movement skin holds micro realistic detail longest. The outer forearm, upper arm, sternum, and the flat of the inner wrist (away from the pulse) are consistently strong performers. Behind the ear works for very simple subjects, but the skin is thin and the curves are challenging for stencil placement.
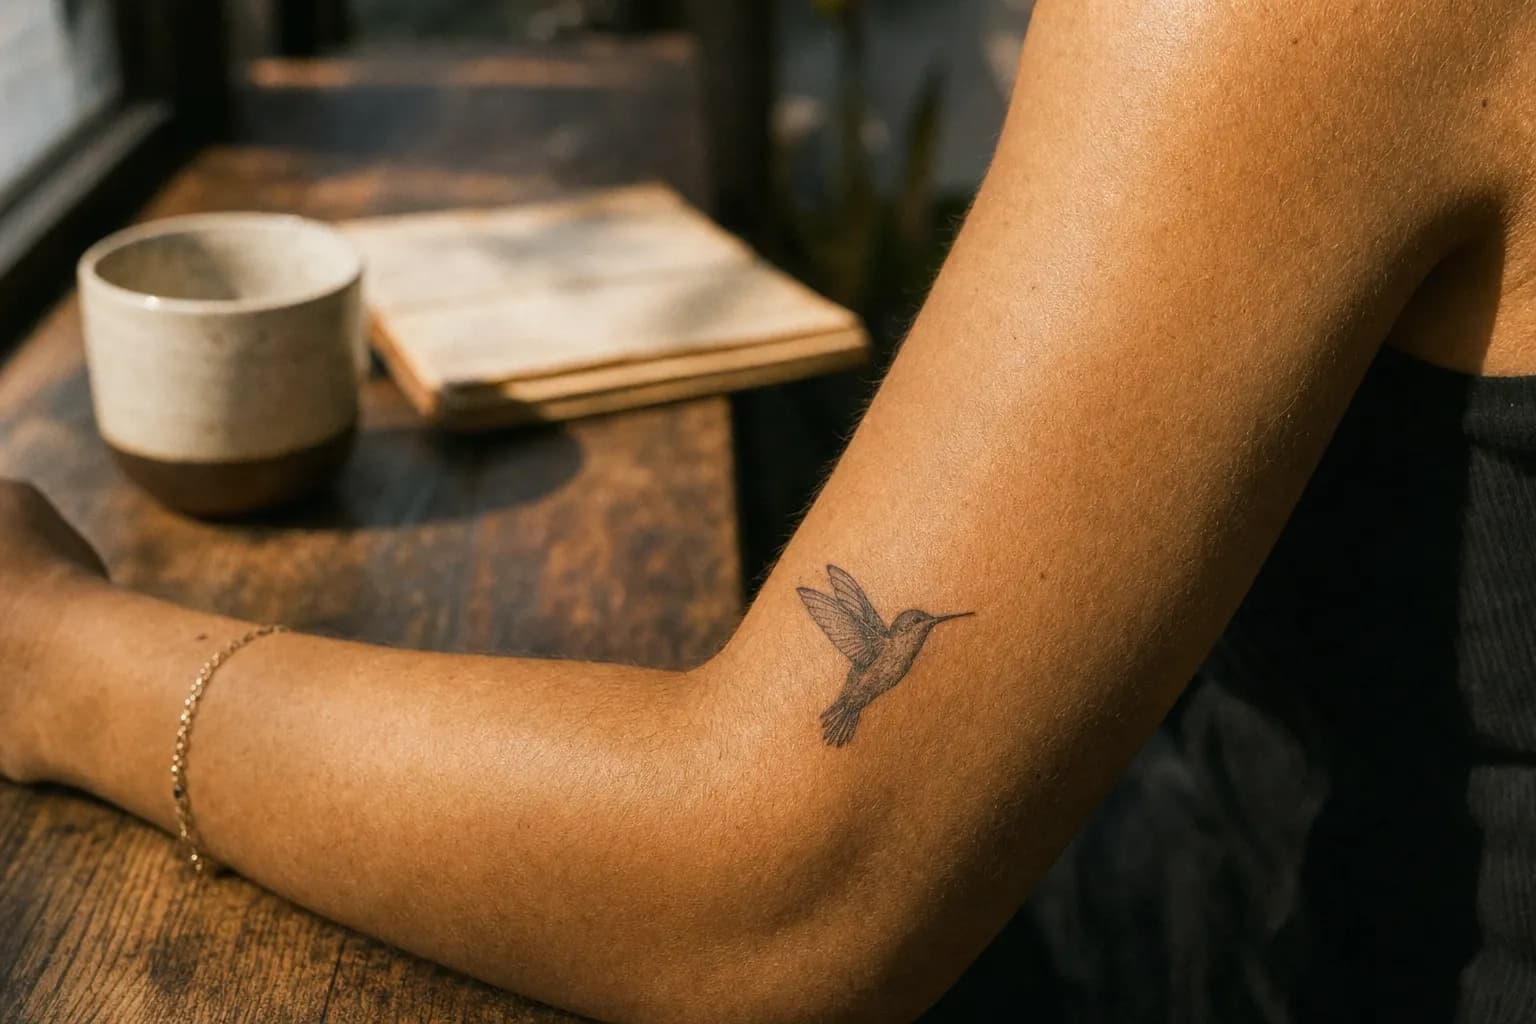
Below roughly 3 cm, portrait faces lose legibility as the skin heals. Individual features. Eyes, nose, mouth. Need a minimum footprint to remain distinct once the ink settles. Simpler subjects (a single eye, a bird in flight, a botanical detail) hold smaller than full portraits.
| Placement | Longevity | Complexity ceiling | Notes |
|---|---|---|---|
| Outer forearm | High | Full portrait / scene | Low flex, flat surface, easy to photograph |
| Upper arm | High | Full portrait / scene | Slight curve requires stencil adjustment |
| Sternum | High | Medium. Avoid very fine highlights | Weight fluctuation can affect skin tension over years |
| Inner wrist | Medium | Simple subjects only | Keep away from the pulse crease |
| Behind ear | Medium-low | Very simple. Single motif | Thin skin, constant movement, difficult stencil curve |
| Inner elbow / back of knee | Low | Not recommended for micro realism | Constant flex degrades fine detail quickly |
| Palm / fingers | Very low | Not recommended | Fast epidermal turnover pushes ink out |
Touch-up sessions at 8 to 12 weeks after healing are standard practice, not a sign of a poor first session. Micro realistic pieces often reveal small gaps or faded highlights only once the skin has fully settled. Planning for that follow-up from the beginning makes the whole experience less stressful.
If you're weighing up how micro realism tattoo pricing actually works, that guide is worth reading before your consultation. It explains how detail density and session structure affect the final figure.
Practical Steps Before You Book
Preparation before your appointment directly affects the quality of what comes out on the other side. Here's what actually helps:
- Gather 3 to 5 high-resolution reference images. Not Pinterest crops or screenshots. Original photography with genuine tonal depth. Blurry references produce blurry briefs.
- Know your placement, but stay open. If the artist recommends sizing up by a centimetre for longevity, that's craft knowledge worth taking seriously, not a upsell.
- Avoid sun exposure on the target area for at least two weeks before your session. Sunburned or peeling skin doesn't hold ink well, and Lisbon summers mean this matters more than in most European cities.
- Eat a proper meal before you arrive. Even a 90-minute session taxes your body. Low blood sugar during tattooing affects how your skin responds.
- Sleep the night before. Tired skin is more reactive. This is unglamorous advice, but experienced artists mention it consistently.
- Moisturise the area daily for one week before your appointment. Well-hydrated skin takes ink more evenly. Avoid applying anything on the day itself.
Clients booking a tiny realistic tattoo in Lisbon sometimes underestimate how much the preparation phase shapes the result. The artist can only work with the canvas you bring. That's especially true for a style that leaves no room to compensate for difficult skin conditions.
The studio also works across fineline and geometric styles if your concept suits a different approach. Some subjects that don't compress cleanly into photorealism translate beautifully into a geometric or fineline interpretation instead. The consultation is the right place to explore that.
- Clients searching for a micro realism tattoo studio near me in Lisbon should bring printed references alongside digital ones. The artist often prefers working from physical prints at actual size.
- A small photorealistic tattoo in Portugal requires the same tonal commitment as a large piece. Don't expect the studio to simplify the tonal range just because the canvas is small. That's exactly what separates the style from everything else.
- Clients based near Príncipe Real, Cais do Sodré, or Alfama can reach the studio without crossing the city; check the metro map for the closest stop before booking.
If you're still getting oriented on what to actually look for in a micro realism tattoo artist in Portugal. Not just this studio, but the style in general. The guide on micro realism tattoo artists in Lisbon covers portfolio evaluation criteria in detail.
Frequently Asked Questions
How small can a micro realism tattoo actually go?
Most experienced artists set a lower limit around 3 to 4 cm for subjects with facial detail. Below that, features blur together as the skin heals and ink settles into the dermis over 6 to 8 weeks. Simpler subjects. A single eye, a small bird, a botanical detail. Can work at smaller dimensions than full portraits.
How long does a micro realism tattoo take to heal?
Surface healing takes roughly 2 to 3 weeks, but the deeper dermis continues settling for 6 to 8 weeks. You'll see the true result only once that second phase completes. In Lisbon's humid summer months, keeping the piece out of direct sun and away from seawater during those first weeks is especially important.
Will a micro realism tattoo hold its detail over time?
Yes, if placed on low-flex, stable skin and executed with proper needle technique and sufficient ink density. Fine lines without tonal support tend to grey out. A well-built piece with real blacks anchoring the shadows holds far better than one relying only on light, delicate linework without those darker foundations.
What's the difference between micro realism and fineline tattooing?
Fineline focuses on clean, precise linework and deliberate negative space. It's a structural approach. Micro realism borrows fineline needles but uses them to build full photographic tonal ranges: shadow, midtone, highlight. The goal isn't an elegant line. It's convincing the eye it's looking at a photograph compressed onto skin.
Do I need multiple sessions for a micro realism tattoo?
One session covers most pieces in the 4 to 8 cm range. Plan for a touch-up appointment at 8 to 12 weeks once the skin has fully healed, because the style often reveals small gaps or faded highlights only after healing completes. That follow-up is standard practice, not a sign anything went wrong in the first session.