What Micro Realism Actually Is (And What It Isn't)
Pick up any photograph. A portrait, a hummingbird, a cluster of botanicals. Now imagine compressing every tonal shift, every highlight, every shadow into a patch of skin no wider than your thumb. That's the challenge this style sets out to solve. If you've been searching for micro realism tattoo work near you in Lisbon, understanding the discipline first will save you a lot of wasted consultations.
The difference between micro realism and regular realism
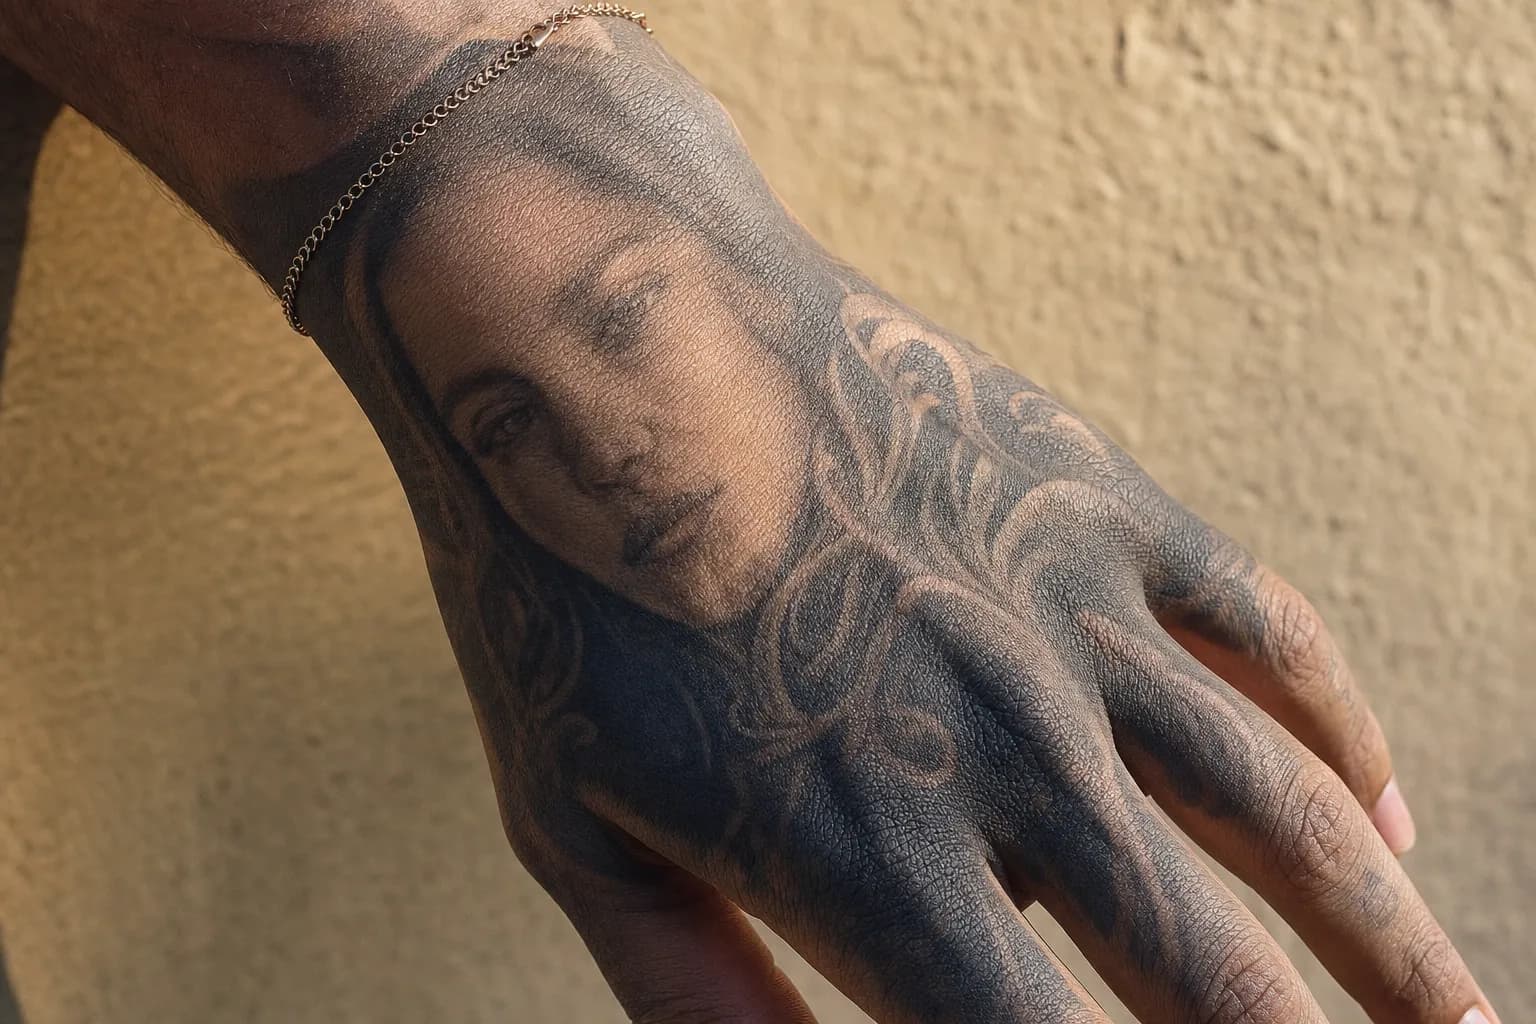
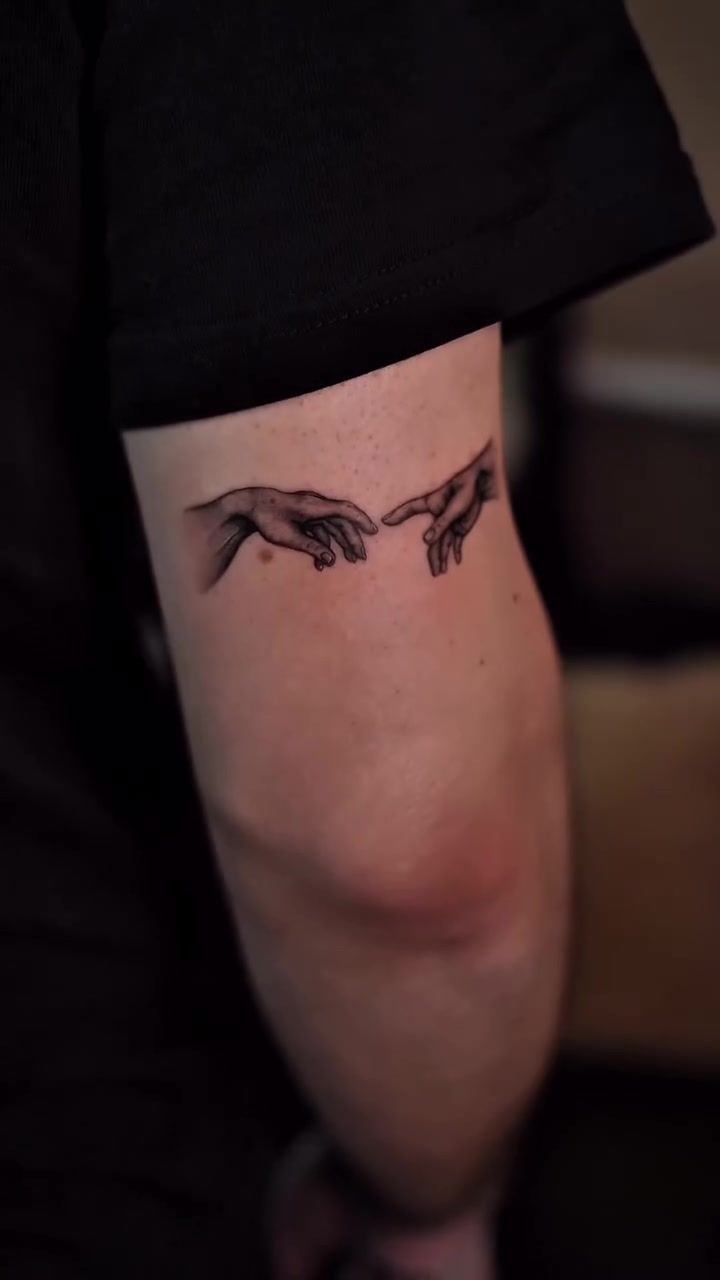
Full realism has room to breathe. A portrait that covers an entire thigh can build gradients slowly, layer by layer, because the artist has centimetres of space to work with. Compress that same subject to 4cm and every single mark has to earn its place. There's no hiding a slightly soft edge behind surrounding detail. Everything shows.
Regular realism pieces also tend to be more forgiving of small technical inconsistencies. At micro scale, a line that's 0.5mm too thick reads as a completely different tonal value. The subject either holds together or it doesn't. There's very little middle ground.
Why fineline and micro realism overlap so often
Fineline tattooing uses single-needle or very small needle configurations to draw hair-thin lines with exceptional edge definition. That precision is exactly what photorealistic subjects need at small scale. Without it, outlines fatten and subjects lose their crispness before the ink even heals.
The crossover isn't a coincidence. Both approaches demand controlled hand speed, careful ink saturation, and a deep understanding of how pigment behaves beneath the skin surface. Many of the strongest small detail tattoo artists working in Lisbon today trained across both disciplines before specialising in either.
"Small does not mean simple. If anything, working small removes every safety net a larger canvas provides. You're making the same decisions, but you have a fraction of the space to recover from them."
The Craft Behind the Scale
Needle selection and why it changes everything
Two needle configurations do most of the heavy lifting in this style. A single needle (1rl, or round liner) draws the finest possible lines and places ink with surgical accuracy. A 3rl (three-needle round liner) covers slightly more ground with each pass, which helps when building subtle gradients without overworking the skin.
Neither is universally better. The choice depends on the subject. Portraiture and animal fur often start with a 1rl for edge definition, then switch to a 3rl for mid-tone shading. Botanical subjects with softer organic edges may use the 3rl almost exclusively. Knowing which needle to reach for, and when, is one of the things that separates considered craft from guesswork.
Ink density, saturation, and the risk of blowout
Blowout is what happens when ink migrates laterally into the dermis rather than staying within the intended needle path. Instead of a clean edge, you get a soft, bruise-like halo spreading outward from the line. In a bold traditional tattoo, a small blowout might go almost unnoticed. In a tiny photorealistic piece, it can collapse an entire area of detail.
The main cause is hand speed. Move too slowly on a single pass and the needle deposits excess pigment, which the tissue can't fully absorb in place. That excess migrates sideways. A controlled, consistent machine speed and minimal re-passes over the same area are the practical defences against it.
Stencil accuracy at small scale
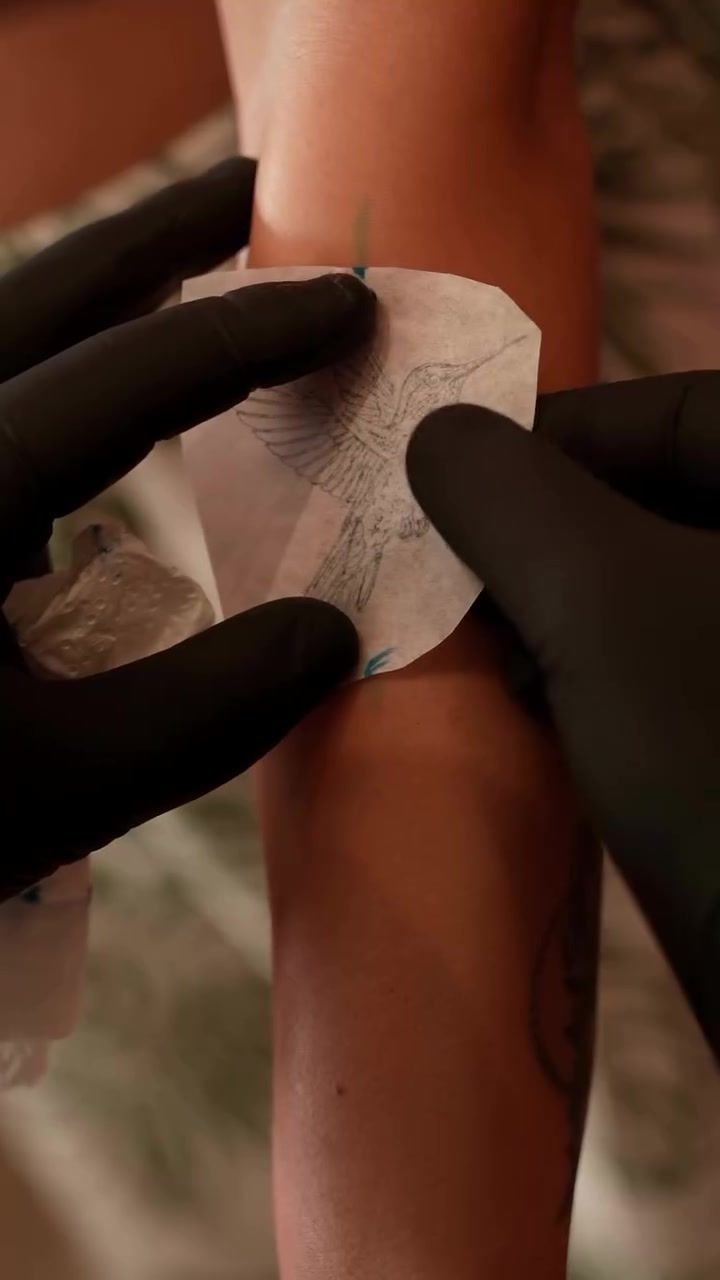
If the stencil sits 2mm off-centre on a mandala, you'll notice it every time you look at the piece. On a micro portrait, that same 2mm error shifts a nose, misaligns an eye, and breaks the likeness entirely. Stencil placement review isn't a formality. It's the last checkpoint before a permanent mark goes on skin.
The studio always photographs the stencil position and reviews it at a short distance before beginning. What looks acceptable up close can read differently at arm's length. That short pause matters.
What the Studio Looks for in a Micro Realism Consultation
Reference images and why quality matters more than quantity
Three sharp, high-contrast reference images will serve a consultation better than fifteen mediocre ones. The studio looks at tonal range first. A subject with strong contrast between its lightest highlights and darkest shadows translates to skin far more reliably than a low-contrast image where everything sits in a similar mid-tone. A pale grey wolf against a pale grey sky, for example, loses all definition at small scale.
Sending references digitally before the appointment helps too. It lets the studio flag any subjects that may need adjusting. A portrait cropped differently, a botanical simplified slightly. Before you've spent time travelling across Lisbon to discuss it in person.
Choosing placement for small photorealistic work
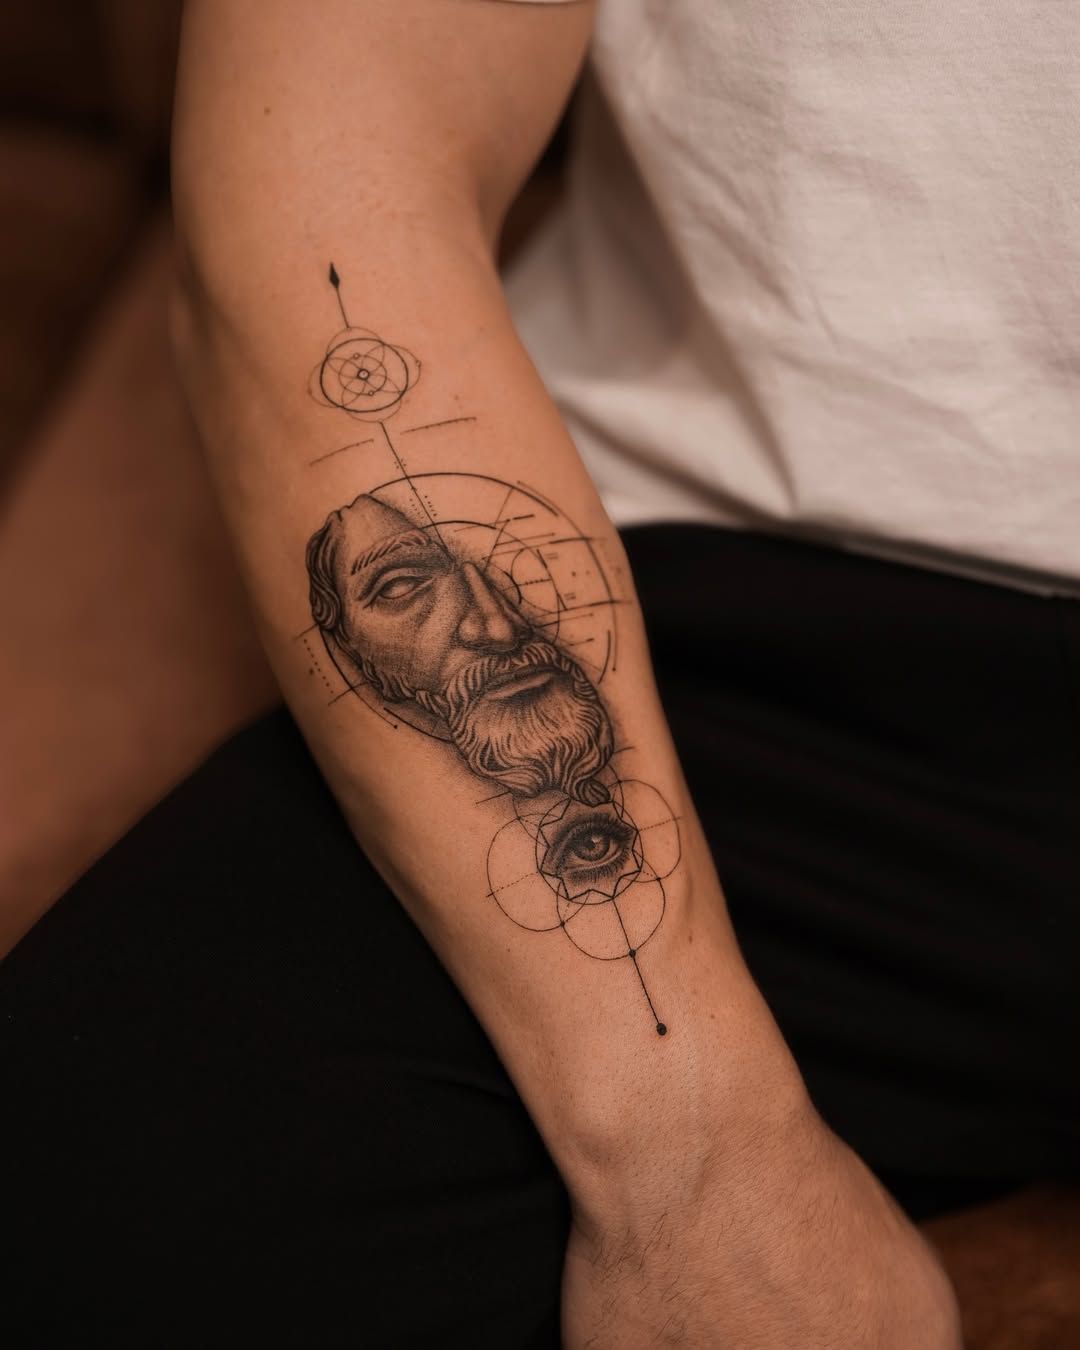
Flat, low-flex surfaces hold fine detail far longer than high-movement areas. The outer forearm, upper arm, shin, and calf are the studio's preferred zones for this reason. Skin over knuckles, inner elbows, and feet flexes constantly. That repeated stretching and compressing gradually softens fine lines faster than time alone would.
Placement also affects the healing window. Lisbon's humid summer months slow certain stages of healing by keeping the skin moist for longer, which can slightly increase the risk of ink lifting during the peeling phase. The studio takes season into account when advising on timing, particularly for clients booking between June and September.
Skin type, tone, and how they affect fine detail
Skin with larger pores or more textured surface can break up very fine linework as the tattoo settles. This isn't a reason to avoid the style, but it does require adjusting the design. The studio may suggest slightly bolder line weights or more contrast in the composition to compensate, so the piece reads cleanly once healed rather than only looking sharp in the fresh photograph.
Darker skin tones require a different approach to highlight placement and mid-tone building. The fundamentals of the style hold, but the specific pigment choices and layering sequence shift. This is worth discussing openly during consultation rather than assuming the same approach works across every skin tone.
Healing a Micro Realism Tattoo: What's Different
The first two weeks
Fine lines and tightly packed shading are the first areas to soften as skin heals. A fresh piece looks almost impossibly sharp. Two weeks later, the same piece looks slightly less defined. This is normal and expected. The ink is settling deeper into the dermis while the upper skin layers repair. Judging the result before six to eight weeks have passed is premature.
Over-moisturising is one of the most common mistakes during this period. A thin layer of fragrance-free moisturiser twice a day is enough. Applying thick product multiple times daily traps bacteria and can lift ink during the peeling phase. Less product, applied consistently, does more for the outcome than generously applying more of it.
NHS guidance on tattoo aftercare recommends keeping the area clean and avoiding submersion in water during the initial healing period. These principles apply directly to fine-detail work, where any disturbance to the healing surface can affect how the ink settles.
Why touch-ups are built into the process
Eight to twelve weeks after the session, once skin has fully settled, is the standard touch-up window. This isn't a sign that something went wrong. It's simply how this style is finished properly. Small areas of shading that healed slightly lighter than intended get refined. A line that softened marginally during healing gets reinforced. One short pass at that stage can add years to the crispness of the piece.
Sun exposure is the other major variable. Fine lines and subtle gradients fade faster under UV than bold black linework does. A small detail tattoo needs consistent SPF protection once healed, especially during Lisbon's long, bright summers. Factor that into your aftercare routine from day one, not as an afterthought six months later.
For clients interested in how precision and aftercare connect across different styles, the guide on what great lettering actually takes covers similar territory from a typographic angle worth reading alongside this one.
Micro Realism Tattoo Sizes, Placements, and Session Lengths at a Glance
The table below gives a practical reference for planning your session. These are working estimates based on the studio's typical approach, not fixed rules. Complexity within a size range varies, and consultation will always produce a more accurate picture than any general guide.
| Subject Type | Typical Size Range | Session Duration | Recommended Placement |
|---|---|---|---|
| Portrait / Face | 3 to 5cm | 2 to 3 hours | Upper arm, outer forearm |
| Botanical / Animal | 4 to 6cm | 1.5 to 2.5 hours | Forearm, shin, calf |
| Abstract Scene | 5 to 8cm | 2.5 to 3.5 hours | Back panel, thigh |
Larger compositions within this style can occasionally run beyond these windows, particularly if the design incorporates geometric framing or multiple layered subjects. The studio will flag this during the design review rather than mid-session.
What to Bring to Your Micro Realism Consultation
A well-prepared consultation moves faster and produces better results. Here's what makes the difference between a productive first meeting and one that requires a follow-up just to gather the basics.
- High-resolution reference images. Screenshotted Instagram thumbnails lose too much detail. Full-size image files or printed references at actual tattoo size work best.
- Notes on placement preferences. Even a rough sense of the area. Left forearm, outer upper arm, right calf. Helps the studio begin thinking about orientation and proportions.
- Healed, rested skin. No sunburn, no active breakouts or irritation in the target area. Sun-damaged skin makes stencil adhesion and ink placement more difficult.
- Clothing that exposes the target area easily. A sleeve that rolls up cleanly saves time. Tight or complicated clothing that requires changing mid-consultation is a minor but avoidable friction.
- References sent ahead of time. Emailing images before the appointment lets the studio flag any subjects that may need adjustment before you arrive, making the in-person conversation more focused.
The studio sits in central Lisbon, accessible from several metro lines. Clients travelling from Alfama, Príncipe Real, or Cais do Sodré can reach the studio without needing a car. If you're coming from further afield in Portugal, it's worth confirming the address when you book rather than relying on map searches that sometimes pull incorrect pins for independent studios.
For clients curious about how the studio handles other detail-driven styles, the fineline tattooing service page gives a sense of how the same precision principles apply to purely linear work, which often complements or overlaps with photorealistic pieces.
- Send reference images digitally at least 48 hours before your appointment.
- Confirm placement preferences so the artist can prepare an appropriately sized sketch.
- Arrive with clean, moisturised (but not freshly lotioned) skin in the target area.
- Eat a proper meal beforehand. A two-to-three-hour session on an empty stomach is uncomfortable and can affect how your body responds to the process.
Frequently Asked Questions
How small can a micro realism tattoo realistically go?
Most experienced artists set a practical lower limit of around 3cm for portrait-style subjects. Below that, skin simply can't hold enough tonal variation to read as photorealistic once healed. The exact minimum depends on the subject's contrast levels and the chosen placement. Some botanical or abstract subjects can go slightly smaller than portraits because they rely less on precise likeness.
How do I find a micro realism tattoo artist near me in Lisbon?
Start with studio websites and Instagram, and look specifically at healed work rather than fresh-ink photographs. Fresh tattoos always look sharper than the settled result. Ask whether the studio reviews your reference images and discusses placement before committing to a design. A considered consultation process is a reliable indicator of a craft-focused approach to this technically demanding style.
Will a micro realism tattoo blur or fade over time?
All tattoos change as skin ages, but this style is more sensitive to fading than bold traditional work because it relies on fine lines and subtle gradients. Keeping the piece out of direct sun, moisturising correctly during healing, and scheduling a touch-up at 8 to 12 weeks significantly extends how long the detail holds. Consistent SPF protection after healing is not optional for small detail work in Lisbon's climate.
How many sessions does a micro realism tattoo take?
Most standalone pieces in this style fit into a single session of 1.5 to 3 hours. Larger or compositionally complex work may require two sessions. A touch-up pass at 8 to 12 weeks is standard studio practice and not a sign that anything went wrong. It's simply how the style is finished properly, refining any areas that healed slightly lighter than intended.
Is micro realism more painful than other styles?
Pain tolerance varies considerably between individuals, and the studio doesn't make specific claims about what you'll feel. Session duration for this style tends to be shorter than for large-scale realism, which many clients find easier to manage. Placement on flat, low-flex areas like the forearm or upper arm also tends to be more comfortable than high-flex zones like the inner elbow or foot.