A Portrait the Size of a Coin
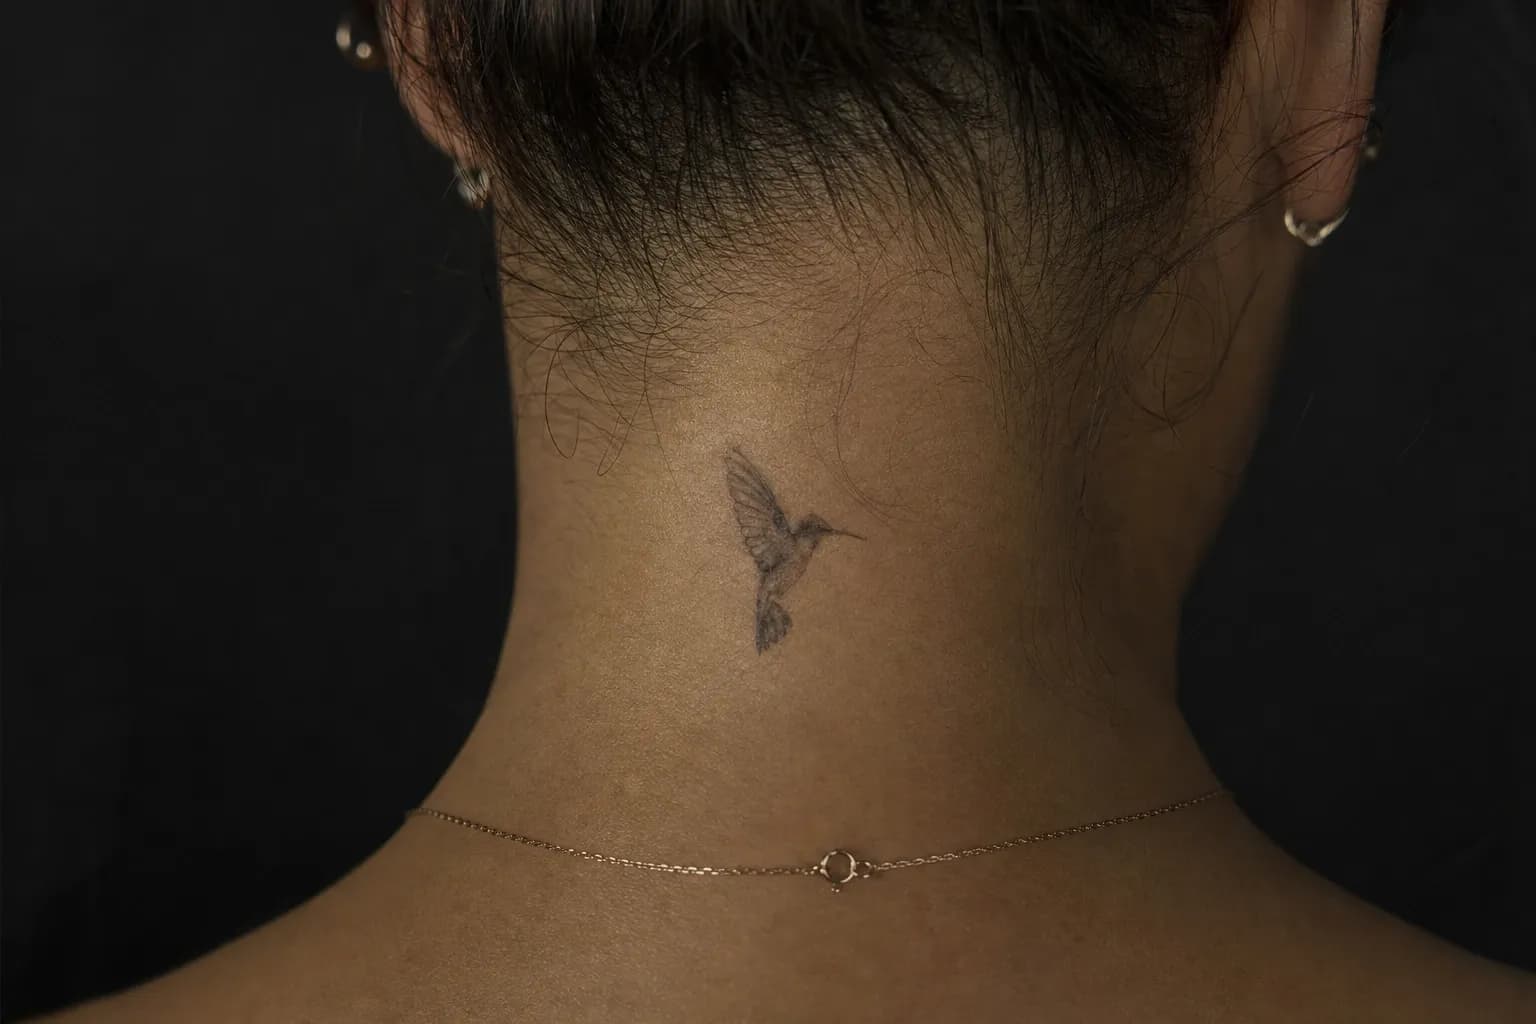
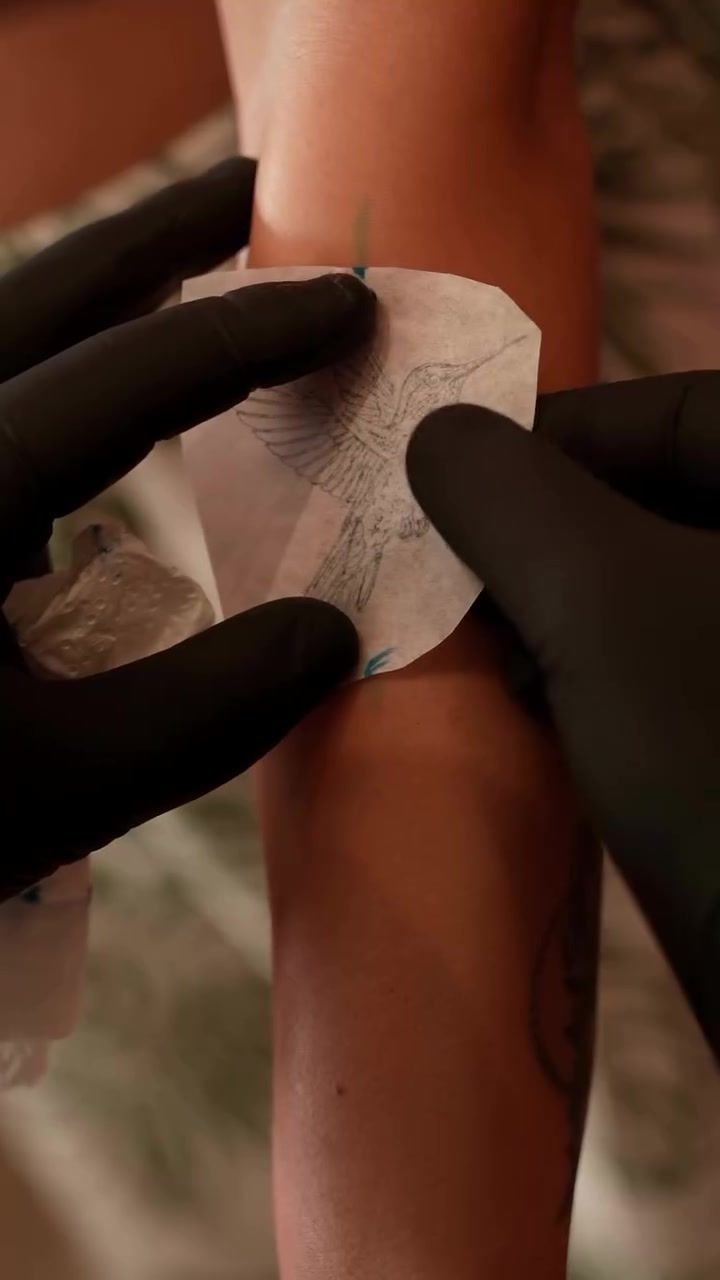
Picture a hummingbird on the forearm. Every iridescent feather suggested in fine grey tones. The catch of light on its beak. All of it inside a 5cm oval. That kind of detail is what draws people to the micro realism tattoo service. Photorealistic rendering at a scale that fits a wrist, a collarbone, a spot behind the ear.
The appeal is real. You get the visual depth of a full portrait without committing half a sleeve. But micro realism is not a shortcut. It is one of the most technically demanding styles the studio works in, and understanding what it asks of both artist and client will help you arrive at your consultation with the right expectations.
What Micro Realism Actually Is
Scale and resolution: where "micro" ends and "realism" begins
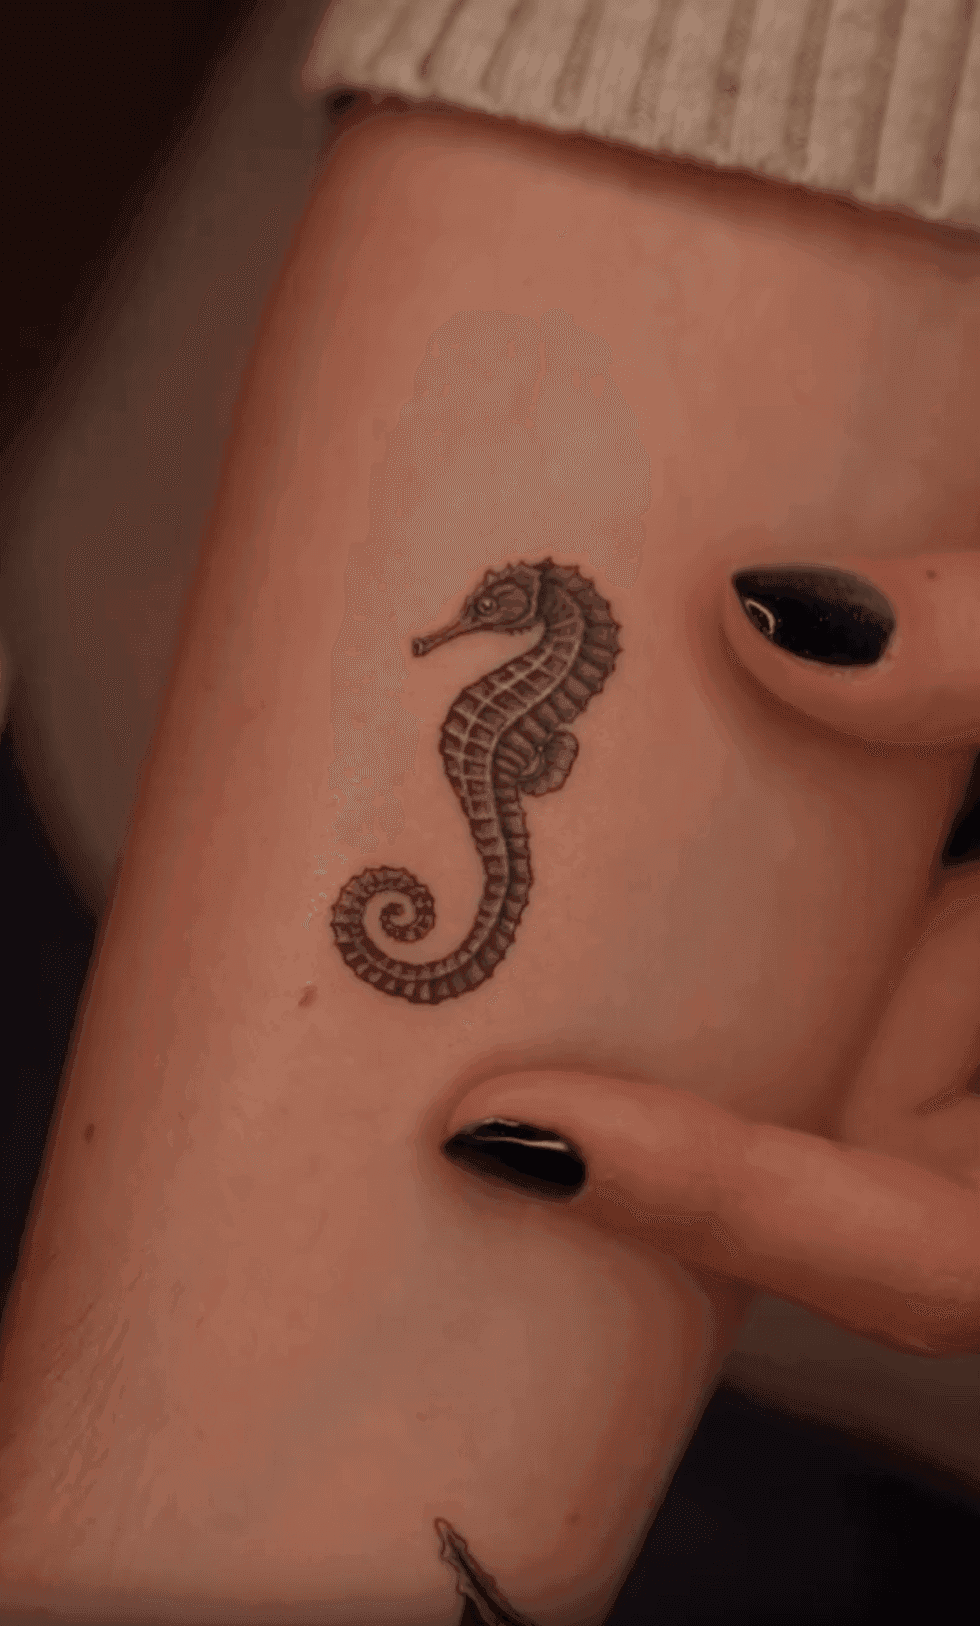
Micro realism is photorealistic tattooing at a scale typically under 8-10cm in any direction. "Realism" describes the rendering approach: light sources, shadow gradients, tonal depth, the illusion of three dimensions on flat skin. "Micro" describes the constraint you're working within. Both words matter equally.
The style has grown steadily across European cities over the past decade, and Lisbon has followed that curve. Clients searching for a tiny photorealistic tattoo in Portugal often find the style through social media, where close-up photography flatters it. In person, the scale is always slightly surprising. In the best way.
How it differs from fineline and standard realism
Fineline (line-based work with minimal shading) and micro realism share a needle size, but the intent is different. Fineline traces form with precise lines. Micro realism builds form through tone. Layers of diluted ink that suggest volume and texture rather than outline it.
Full realism, the kind you see on large upper-arm or back pieces, has room for wide tonal ranges and slow gradient transitions. At micro scale, those transitions must compress dramatically. The artist is making editorial decisions constantly: what to include, what to drop, what the eye will fill in. That compression is the discipline that separates a strong micro realism tattoo artist from someone who simply works small.
Why the Technique Is So Unforgiving
Needle selection and ink density at small scale
The studio typically uses a single needle or a 3RL grouping (three needles arranged in a tight round configuration) for micro realism work. A single needle deposits ink in the finest possible line. The 3RL adds a fraction more coverage per pass, which helps build mid-tones faster without overworking the skin. The wrong choice. Or the wrong hand pressure. And the ink either sits too shallow and fades early, or saturates a tiny zone and spreads as the skin heals.
Ink dilution matters just as much. Highlight tones in a small realistic piece require highly diluted ink delivered with consistent pressure. Too dense and the highlights grey out; too light and they disappear in the first wash. There is very little margin between those two outcomes when you're working inside a 6cm frame.
Why stencil placement is non-negotiable
If the stencil sits 1mm off-centre on a portrait the size of a matchbox, you'll see it every time you look at the piece. A pupil slightly too high, a shadow on the wrong cheekbone. At this scale, a millimetre is visible. The artist checks stencil placement from multiple angles and in different light before the needle touches skin. There is no hiding a placement error under surrounding linework when the entire composition is smaller than a playing card.
This is also why the myth that small tattoos are quicker needs correcting directly. A 6cm piece in this style often runs to the same two- or three-hour session as a mid-size bold piece. Because precision demands slowness.
The long game: how micro realism ages
All tattoos spread slightly as skin ages. Bold black outlines contain that spread. Micro realism relies on tight spacing between fine tonal areas, so there's less structural buffer. A well-designed piece on a stable placement. Forearm, upper arm. Can hold its resolution for many years. An overcrowded design, or one placed on high-movement skin, will merge at the edges sooner.
Lisbon's summers also introduce a specific local consideration. The city's UV intensity from June through September is genuine, even in the shade of a Príncipe Real cafe terrace. Fresh ink. Especially the fine grey tones in this style. Can wash out permanently with even mild sun exposure in the first two weeks. Plan your session timing with that in mind.
How the Studio Approaches Micro Realism
From reference image to skin-ready design
Every micro realism consultation begins with reference photographs. Sharp focus, clear contrast, a readable light source. These are the raw ingredients. The artist then studies what level of detail is genuinely achievable at the size you want, taking your skin tone into account from the start.
On deeper skin tones, the contrast range shifts and highlights need stronger ink saturation to read cleanly. This is not a limitation; it's a design variable. The studio has worked across a wide range of skin tones and will tell you honestly what the piece will look like on your skin, not just in the reference photo.
What happens next is the part most clients don't expect. The artist edits the reference aggressively. A photograph of a leopard has hundreds of individual spots, each with its own shadow and highlight. Translated literally onto skin at 7cm, those spots would merge into mud within a year. The artist strips the design to its essential signals. The shapes the eye uses to read "leopard". And rebuilds the piece from there. That editing process is the real skill. See how that principle plays out in the Creation of Adam micro realism arm tattoo, where Michelangelo's iconic composition is condensed without losing its gravity.
"A reference photo shows you everything. Our job is to decide what to remove. Because skin at this scale can only carry so much before it stops being readable and starts being noise."
For a different example of that editing instinct applied to a classical subject, the Marcus Aurelius in sacred geometry piece shows how portraiture and geometric structure coexist without either element overwhelming the other.
Placement decisions that protect longevity
The studio's preferred placements for micro detail work are the forearm, upper arm, sternum, and shoulder blade. These areas have relatively stable skin that sits flat, doesn't stretch dramatically with movement, and heals predictably. The fine tonal gradients that define this style need that stability to hold.
There are placements the studio actively steers clients away from for this style:
- Fingers and hands. Skin here renews faster and flexes constantly; fine detail compresses and fades within months
- Feet and toes. Similar issue, compounded by friction from footwear
- Inner wrist crease. The fold in the skin distorts fine tonal work over time
- Elbows and knees. High-stretch zones that pull ink lines apart as the skin moves
Good placement is part of the design process, not an afterthought. The artist will discuss it during your consultation, often before the reference images even come out.
If lettering is part of your piece. A name beneath a portrait, a word within a composition. The same placement logic applies. Read about what great fineline lettering actually takes for a closer look at how the studio handles typography alongside detailed work.
Practical Guide: Preparing for Your Micro Realism Session
A small realistic tattoo in Lisbon requires the same physical preparation as any larger piece, but the stakes for precision mean your condition on the day matters more than you might think.
- Eat a proper meal beforehand. Blood sugar affects how your skin responds and how steady you can keep the placement area. A meal two hours before your appointment is the simplest thing you can do.
- Hydrate in the days leading up. Well-hydrated skin accepts ink more evenly and heals with less surface disruption.
- Bring your reference in the highest resolution available. A screenshot from Instagram is rarely enough. A high-resolution file or a printed photograph at A5 size is far more useful to the artist.
- Avoid sunburn on the placement area. Burnt or peeling skin cannot be tattooed. Book your session before beach trips, not after.
- Wear comfortable clothing that allows easy access to the placement area. A shoulder piece is much easier to work on if you're not wrestling with a fitted shirt.
Session length for a 5-8cm piece typically runs two to three hours. The needle moves deliberately at this scale. Rushing micro realism produces muddy results, and the artist will not rush.
Healing stages at a glance
| Stage | Timeframe | What's happening | Do / Avoid |
|---|---|---|---|
| Surface healing | Days 1-5 | Plasma weeping, light scabbing forms over fine detail | Keep clean and lightly moisturised; avoid soaking, sun, tight clothing over the area |
| Peel phase | Days 5-14 | Outer skin flakes away; colours look dull temporarily | Do not pick or peel; the fine grey tones beneath are still fragile |
| Mid-heal | Weeks 2-4 | Surface looks healed but dermis is still settling | Continue SPF on the area outdoors; no swimming pools or sea |
| Full settlement | Weeks 8-10 | Ink fully seated in dermis; final appearance visible | Ideal window for a touch-up assessment if needed |
Lisbon's humid summers slow the surface-healing phase slightly. Expect a little more weeping in the first 48 hours if you're tattooed in July or August. That's normal. Keep the area clean and out of direct sun. The Baixa streets and Cais do Sodré waterfront are beautiful, but even fifteen minutes of midday UV on a fresh piece can permanently wash out the finest highlight tones.
Touch-ups, when needed, are booked at the 8-10 week mark. That's when the skin has fully settled and both artist and client can see the piece clearly for what it is. Asking for a touch-up at four weeks, when the skin still looks slightly milky, is almost always too soon.
For a sense of how this style holds up in a larger, more complex composition, look at the Wolf and Cosmos upper arm piece. Micro realism combined with geometric structure across a broader placement, showing how tonal resolution scales when given more room to breathe.
Frequently Asked Questions
How small can a micro realism tattoo actually be?
Most experienced artists set a practical floor around 4-5cm for subjects with meaningful detail. A portrait face, an animal with fur texture, a botanical study. Below that threshold, fine grey tones merge and detail is lost within a few years of normal skin ageing. The studio will advise the minimum workable size during consultation.
Will a micro realism tattoo blur or fade faster than other styles?
It can, if the design is overcrowded or placed on high-movement skin. This style relies on tight spacing between fine tonal areas. On a stable placement like the forearm or upper arm, a well-executed piece holds its resolution for many years. Placement and design editing matter more than style alone.
How long does a micro realism tattoo session take?
Plan for two to three hours for a piece in the 5-8cm range. The precision demanded by photorealistic shading at small scale means the needle moves slowly and deliberately. Rushing produces muddy results. Your consultation will give you a realistic session estimate based on subject complexity and placement.
What reference images should I bring for a micro realism tattoo?
High-resolution photographs work best. Sharp focus, good contrast, a clear light source. The artist will simplify and adapt the reference for skin rather than copy it directly; what reads in a photo does not always translate cleanly to dermis. Bring several angles of your subject if possible, and be open to the artist's edits.
Is micro realism suitable for any skin tone?
Yes, with thoughtful design adaptation. On deeper skin tones, the contrast range shifts and the artist adjusts ink saturation and highlights accordingly. A consultation is the right moment to discuss this honestly. The studio has experience across a range of skin tones and will tell you exactly what is achievable on your skin.